Deutsch


DXF Tutorial
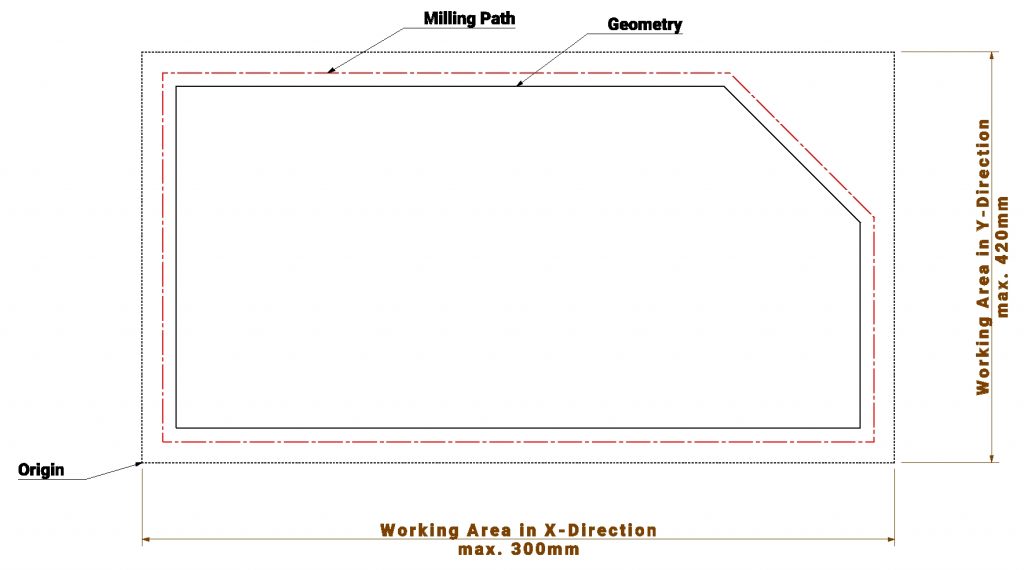
The QBOT MINImill can mill parts directly from DXF files. The following tutorial will guide you through the DXF cutting process. Please note: the software automatically calculates the offset to the milling contour. Please only import closed milling contours. You can download the DXF files from the example project under the following link:
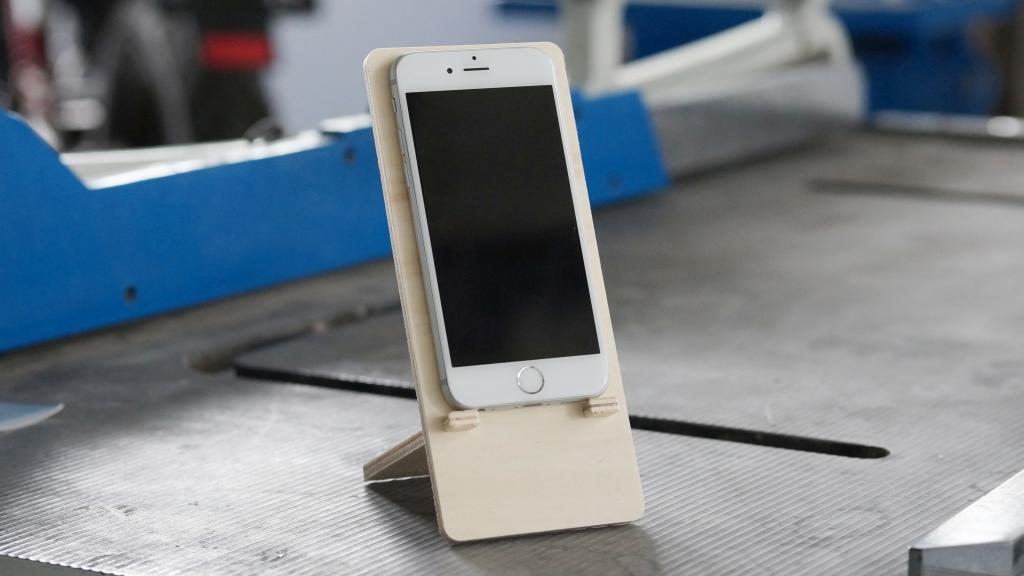
Example project: iPhone 6 Holder
DXF Guidelines
Import the DXF File
step by step instructions
Download the DXF File and open the DXF milling tab in the QBOT MINImill Software.
Click on the “Import File” Button
Select the DXF file format.
Open the DXF File (Iphone 6 Halter_Part_1.dxf)
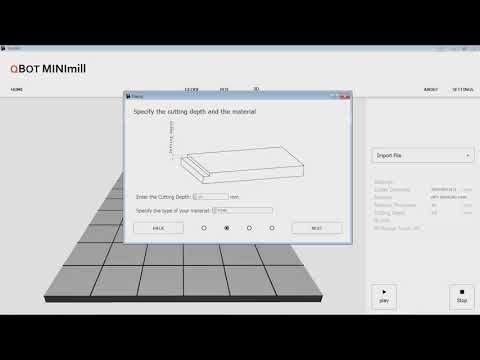
Enter the cutting depth. The cutting depth is the total cutting depth of your file. In our case the cutting depth equals the material thickness. Please enter 6mm.
Specify “Wood” as cutting material
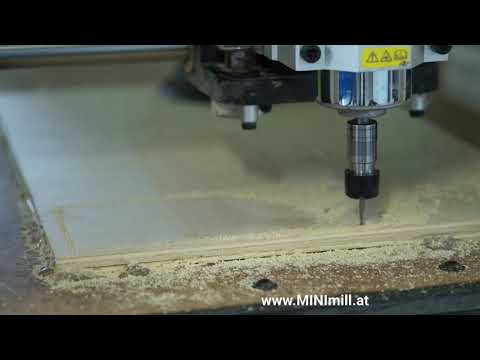
Select “Cutting”. Cutting cuts your parts directly from the outline.
Choose the tool diameter of your cutting tool. In our case we use a 3mm cutting tool.
You can review your settings in the next step. After pressing calculate the software automatically converts your DXF file into the necessary GCODE for cutting your part.
Position your DXF File
DXF position
You can manually position your DXF file on your worktable. You can position your file manually after pressing the “START” Button.
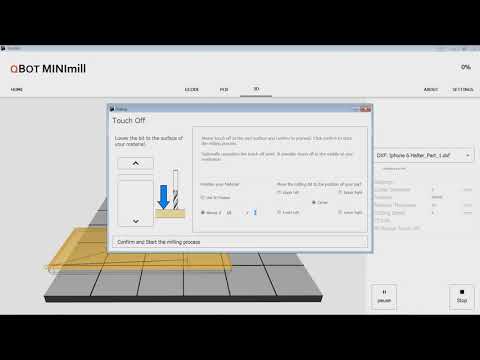
Click on the “START” button to open the touch off window.
You can use the positon of the 3D worktable or position the part manually. The coordinates are the lower left corner of your workpiece. By clicking on “Lower Left”, “Center”,… you can move the toolhead to the designated file position and check whether your DXF file is within your workpiece boundaries.
Lower the tool head with your cutting tool by pressing the left down arrow until it touches your workpiece surface.
If you have successfully reached the surface of your workpiece press “Confirm” and start the milling process.
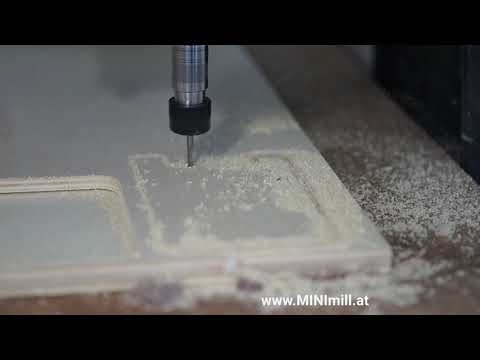
Happy milling. Continue the milling process withe the second file to finish the iPhone holder.